
Digital photogrammetry is easy. But, how did we get to this handheld tech from something that once required kites and hot air balloons?
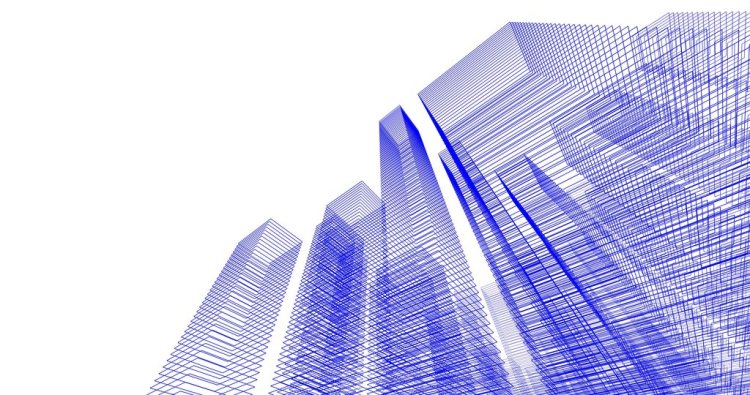
Photogrammetry is, simply put, the process of creating a 3D object from multiple photos. The photos are used to make measurements between objects and create a 3D representation of the objects.
There are several industries that use photogrammetry, which has helped break down the barriers from older, more cumbersome tech (we’ll get into that below).
So, who exactly uses photogrammetry to create 3D files from real-world objects?
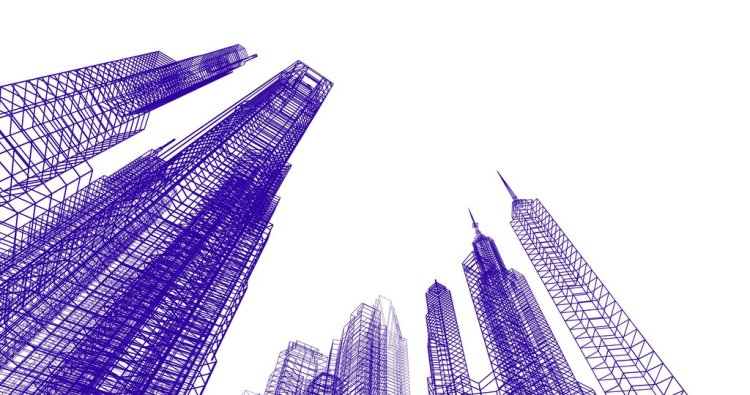
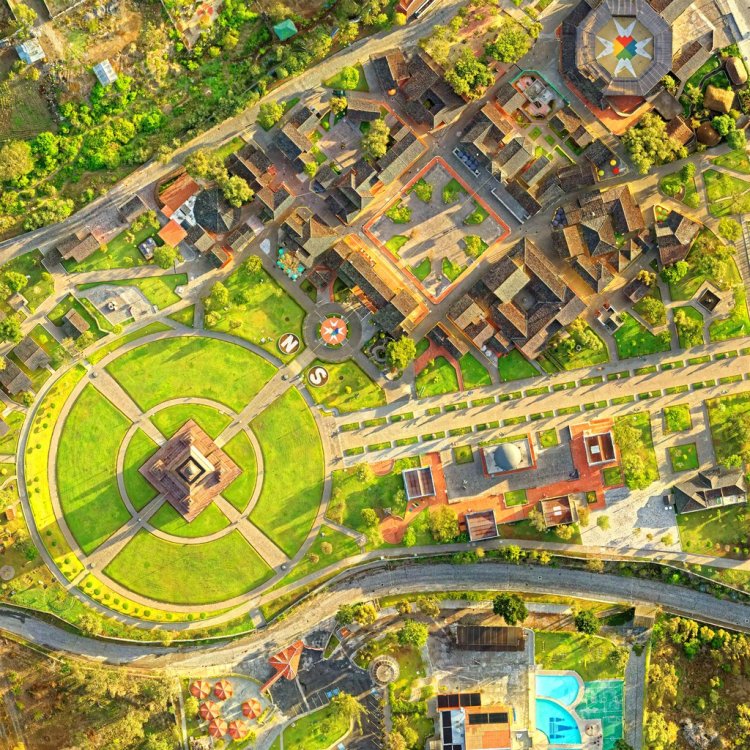
Cultural heritage industries work to preserve historical landmarks that are crumbling and document objects that are rusting and fading. Surveyors use photogrammetry for topological mapping to display how buildings will look on a plot of land. Hotels in the tourism industry scan in their event spaces and allow clients to tour virtually while booking.
And, of course, in the film, gaming, and entertainment industry, actors and environments are scanned in for a myriad of uses. If an actor passes away, their likeness can be placed on another actor’s face. Additionally, video games save time creating backgrounds by scanning in the real world and creating several LODs (level of detail) from the information.
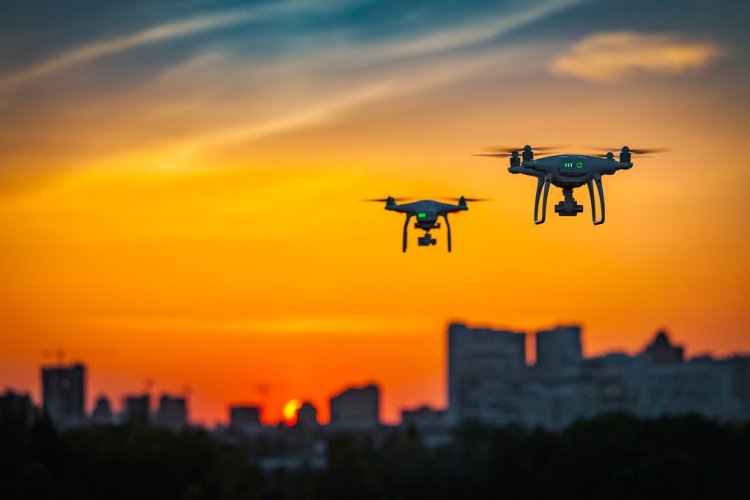
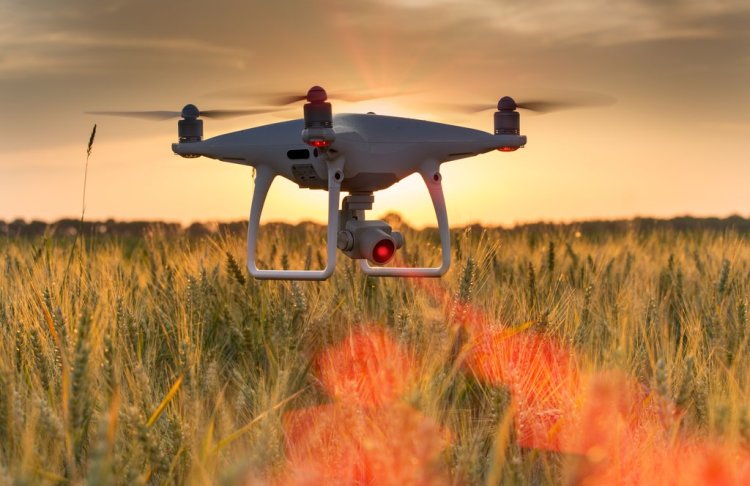
But now, smartphones and apps have allowed the everyday consumer to scan whatever they can get their hands on. What’s more, drones have made it easier to scan larger objects and areas.
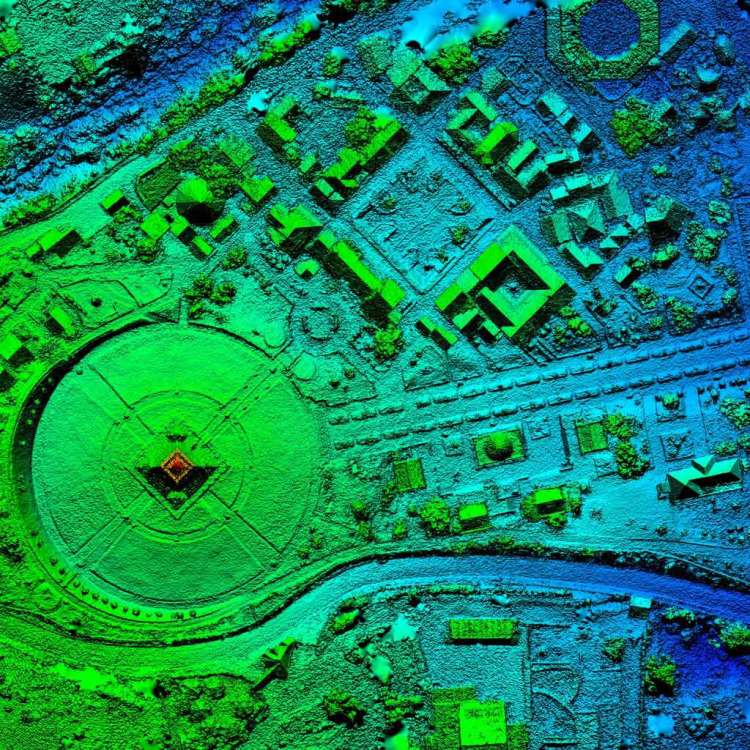
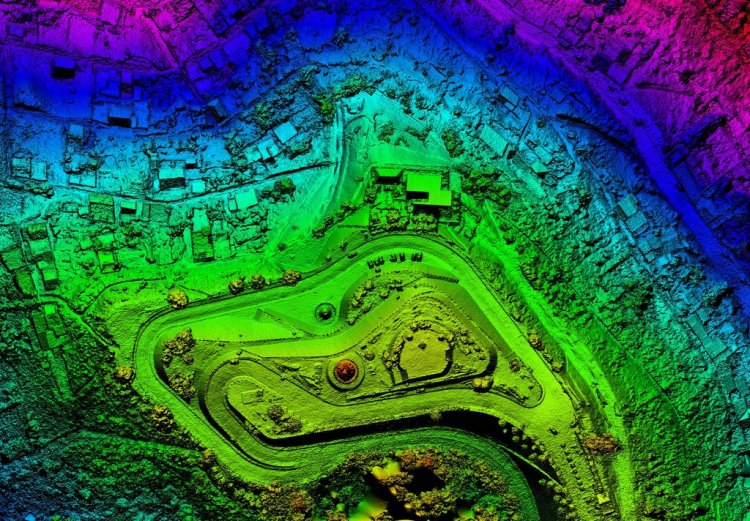
The next step in the evolution of scanning is LIDAR, which uses lasers to detect the position and geometric shape of an object by generating point clouds based on laser shots.
But, let’s rewind. How did we go from a tech with a fairly high, industrial entry barrier to handheld consumer technology?
Da Vinci, Hot Air Balloons, and Cartography: A Quick History of Photogrammetry
Photogrammetry technology has come a long way in recent years. There were even multiple iterations of photogrammetry before digital photogrammetry.
In 1480, Leonardo da Vinci had a theory of how illustrations should incorporate perspective. The principles of perspective and projective geometry form are the basis of photogrammetric theory, noting that objects could be viewed as though through a pane of glass and mapped with lines of perspective.
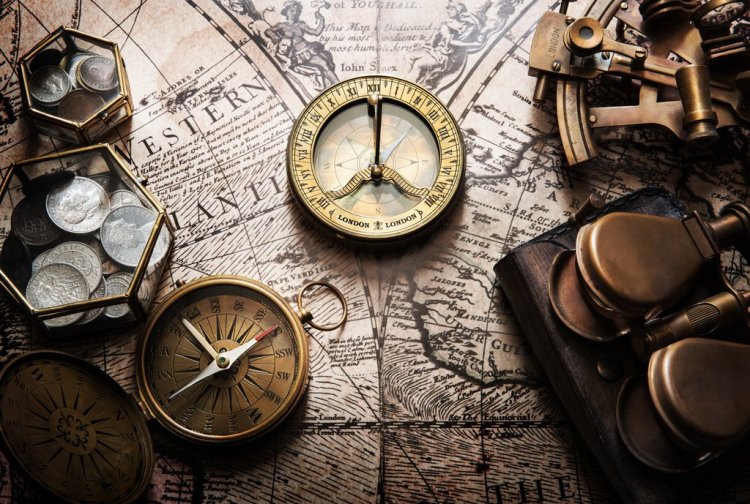
In the 1850s, Aimé Laussedat, who’s considered the “father of photogrammetry,” discussed the potential for mapping/map-making from photography. He was also the first person to use terrestrial photographs for topographic map compilations.
The four development cycles of photogrammetry are:
1. Plane table
2. Analog
3. Analytical
4. Digital
The phase of plane table photogrammetry used photos of images to draw perspective lines and calculate information, such as distance and other data. Laussedat used kites and hot air balloons to venture into terrestrial and aerial mapping. But, it was difficult to take enough photos to cover the entire area visible from an air station.


Analog photogrammetry benefited from the rapid developments in aviation (aerial photogrammetry) and the improvements of film cameras.
The invention of the computer was integral in the advancements of analytical photogrammetry. The current “structure-from-motion” approach in digital photogrammetry began in the 1980s and is the foundation of how the process works today. Now a computer reconstructs the 3D position of the camera using multiple views.
Photogrammetry: Now Open to Everyone
If you’re interested in trying photogrammetry for yourself, there are many apps and programs that let you accomplish this. For example, the new iPhones have LIDAR technology, plus you can use the EveryPoint app for laser scanning.
Apps like PhotoCatch or programs like Reality Capture are user-friendly. Another, low-cost option is to take pictures with your phone and utilize Meshroom and Blender to create 3D models.

Something to keep in mind before you pick a subject is that whatever app/software you employ is constructing your 3D model from what’s common in your multiple images. You may think of choosing a basic item or having a friend wear a solid-colored sweater, but the more variance the program can pick up in the subject, the better.
So, let’s give you some tips for tackling your first photogrammetry project!
- The more photos the better (note, this will increase processing time)
- Keep the subject in the center of the frame
- No flash photography
- Use a tripod
- Stay away from transparent and reflective material
- You can use removable photogrammetry paint or lightly dust reflective surfaces with water and cover them with flour or talcum powder
However, there are still a few issues with consumer-level models made by photogrammetry. Odd meshes or high polygon counts can cause a model to issue broken renders, or can show odd warps and distortions when used.


Here are a couple of quick issues that might hinder your ability to make a cleaner 3D model:
- Blurry/shaky photos
- You’re too far away
- Zooming instead of getting physically close
- Not enough overlap (70-80% of the photo’s details should overlap the photos taken before and after the current photo)
- Reflections
- Poor background
These tips should get you started and provide you with a good base for tackling photogrammetry yourself.
Keep learning with these photography-inspiring articles:
- The History of Abstract Photography
- 5 Tips for Capturing Texture in Photography
- Tips for Creating Mesmerizing Shadow Photography
- How to Capture the Essence of Street Food in Photography
- How to Capture Compelling Abstract Photography
Cover image via Alexey Suloev.


